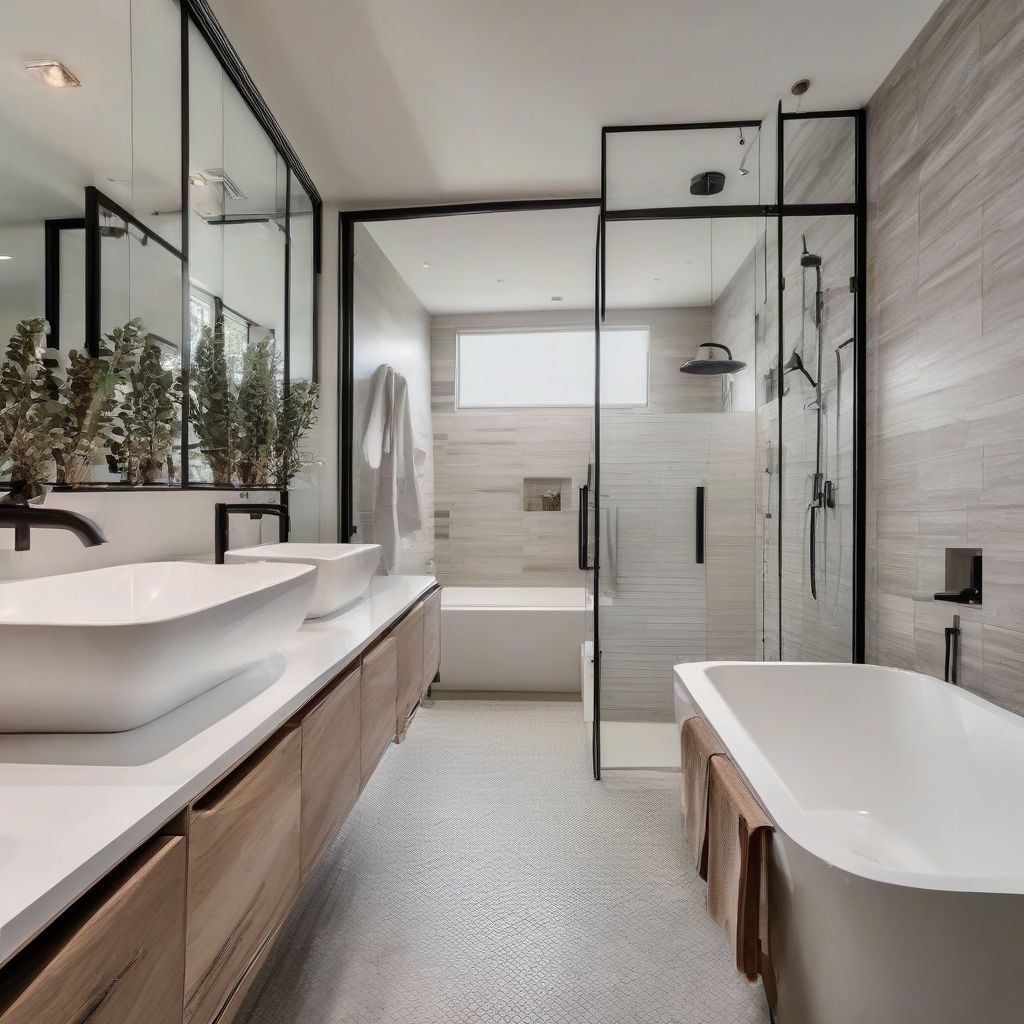
Ever walked into your outdated bathroom and wished for a spa-like oasis? You’re not alone! Bathroom renovations are one of the most popular home improvement projects, and for good reason. A well-designed bathroom not only adds value to your home but also enhances your daily life.
While hiring professionals is always an option, tackling a bathroom remodel yourself can be incredibly rewarding and budget-friendly. But before you grab your sledgehammer, let’s discuss some crucial tips to ensure your DIY bathroom renovation is a smashing success, not a stressful disaster.
Planning Your Dream Bathroom: Measure Twice, Demolish Once
Just like a healthy lifestyle starts with a meal plan, a successful bathroom remodel begins with a detailed plan.
1. Define Your Vision and Budget
 Bathroom Remodeling Ideas
Start by browsing magazines, Pinterest, or online platforms like Houzz for inspiration. Determine your preferred style, be it modern, farmhouse, or something in between. Once you have a vision, set a realistic budget. Consider the cost of materials, fixtures, and any potential surprises that might pop up along the way.
Expert Tip: Allocate a contingency fund of 10-20% of your total budget to handle unforeseen expenses. It’s always better to be safe than sorry!
2. Measure Your Space and Sketch a Layout
Accurate measurements are crucial for ordering materials and ensuring everything fits perfectly. Measure your bathroom’s length, width, and height, noting the location of doors, windows, and existing plumbing fixtures.
Once you have your measurements, sketch a layout of your desired bathroom design. Experiment with different fixture placements to optimize space and flow.
Expert Tip: Several free online bathroom design tools allow you to create 3D models, helping you visualize the final result better.
3. Choose Your Materials and Fixtures
Now comes the fun part—selecting your bathroom’s finishing touches! Consider your budget and lifestyle while choosing durable, moisture-resistant materials for flooring, countertops, and shower walls.
Select fixtures that align with your design aesthetic and water-saving features to enhance efficiency. Don’t forget to research local building codes for plumbing and electrical requirements.
Expert Tip: Order samples of your chosen materials to ensure they complement each other and create the desired ambiance in your bathroom.
Demolishing the Old: Safety and Proper Disposal
With a solid plan and materials ready, it’s time to roll up your sleeves and start demolishing!
1. Disconnect Plumbing and Electricity
Before you swing that hammer, turn off the water supply to your bathroom. Next, disconnect the electrical supply to any fixtures, outlets, or switches.
Expert Tip: If you’re unsure about any electrical work, consult a licensed electrician to ensure safety.
2. Protect Yourself and Your Home
Demolition can be messy! Wear safety goggles, gloves, a dust mask, and ear protection. Cover doorways and furniture with plastic sheeting to minimize dust spread.
3. Dispose of Debris Responsibly
Once you’ve demolished the old fixtures, dispose of the debris according to local regulations. Some items may require special handling, so check with your waste management company for guidelines.
Bringing Your Vision to Life: Installation and Finishing Touches
The demolition is done, the dust has settled, and now the real transformation begins!
1. Start with the Rough-Ins
Begin by installing new plumbing and electrical rough-ins according to your bathroom plan and local codes. This step involves running pipes, wires, and ventilation systems before closing up the walls.
Expert Tip: Consider using PEX (cross-linked polyethylene) pipes for your plumbing. They’re flexible, easy to install, and resistant to corrosion.
2. Install the Flooring and Walls
Once the rough-ins are complete, it’s time to install the subfloor and flooring. Next, frame any new walls and install your chosen wall material, whether it’s tile, drywall, or beadboard.
Expert Tip: When tiling, use a level and spacers to ensure even grout lines and a professional-looking finish.
3. Install Fixtures and Add Finishing Touches
Now for the exciting part! Install your vanity, toilet, shower or tub, and all the other fixtures. Connect the plumbing and electrical connections, making sure everything is working correctly.
Finally, add the finishing touches that personalize your space, such as mirrors, lighting, towel bars, and decorative accents.
Expert Tip: Use a non-corrosive sealant around your tub, shower, and sink to prevent water damage and mold growth.
Enjoy Your Spa-Worthy Retreat: Maintaining Your New Bathroom
Congratulations! You’ve successfully completed your DIY bathroom remodel. Now it’s time to revel in your hard work and enjoy your beautiful, functional bathroom.
Tips for Maintaining Your New Bathroom
- Regularly clean your bathroom to prevent mold and mildew buildup.
- Use a squeegee to remove excess water from shower walls and doors after each use.
- Repair any leaks or drips promptly to avoid water damage.
- Ventilate your bathroom properly to reduce humidity and prevent mold growth.
By following these tips and putting in the effort, you can transform your outdated bathroom into a stunning oasis, adding value to your home and enhancing your daily life. Remember, with careful planning, attention to detail, and a touch of creativity, you can achieve professional-looking results while enjoying the satisfaction of a successful DIY project.
[amazon bestseller=”bathroom renovation”]
