
Imagine stepping onto beautiful, freshly laid floors in your home, the culmination of your hard work and a touch of DIY magic. Installing your own flooring might seem like a daunting task reserved for seasoned professionals. But with the right guidance and a dose of determination, it can be a rewarding and cost-effective way to upgrade your living space. This comprehensive guide will walk you through the process step-by-step, providing you with the knowledge and confidence to tackle this project head-on.
Planning Your Flooring Project
Before you dive into the installation process, meticulous planning is crucial for a successful outcome.
1. Choosing the Right Flooring
Selecting the appropriate flooring for your needs and lifestyle is the foundation of your project. Consider factors like foot traffic, moisture exposure, and overall style.
- Hardwood: Classic and durable, ideal for living areas and bedrooms but not recommended for bathrooms or basements.
- Laminate: Affordable and moisture-resistant, a versatile choice for various rooms.
- Vinyl: Water-resistant and easy to maintain, suitable for kitchens, bathrooms, and high-traffic areas.
- Tile: Durable and stylish, perfect for kitchens, bathrooms, and entryways.
2. Budgeting and Measuring
Determine your budget early on, factoring in material costs, tools, and potential unforeseen expenses. Accurately measure the area you’ll be flooring to purchase enough materials, adding 10% extra for waste and cuts.
3. Gathering Tools and Materials
Having the right tools on hand will streamline your installation. Essential tools include:
- Measuring Tape
- Utility Knife
- Tapping Block
- Rubber Mallet
- Jigsaw or Circular Saw (depending on flooring type)
- Level
- Safety Glasses and Gloves
Preparing for Installation
Proper preparation ensures a smooth and successful installation process.
1. Subfloor Assessment and Preparation
The subfloor provides the foundation for your new flooring. Inspect it for any damage, like cracks or unevenness. Repair any imperfections and ensure it’s clean, dry, and level.
2. Acclimating Your Flooring
Many flooring materials, like hardwood, require acclimation to the room’s temperature and humidity levels. Follow the manufacturer’s instructions for acclimating the flooring before installation to prevent issues later.
3. Establishing a Starting Point
Determine the most visible wall in the room and plan to lay your flooring outward from that point. This starting point will ensure the final rows are straight and aligned.
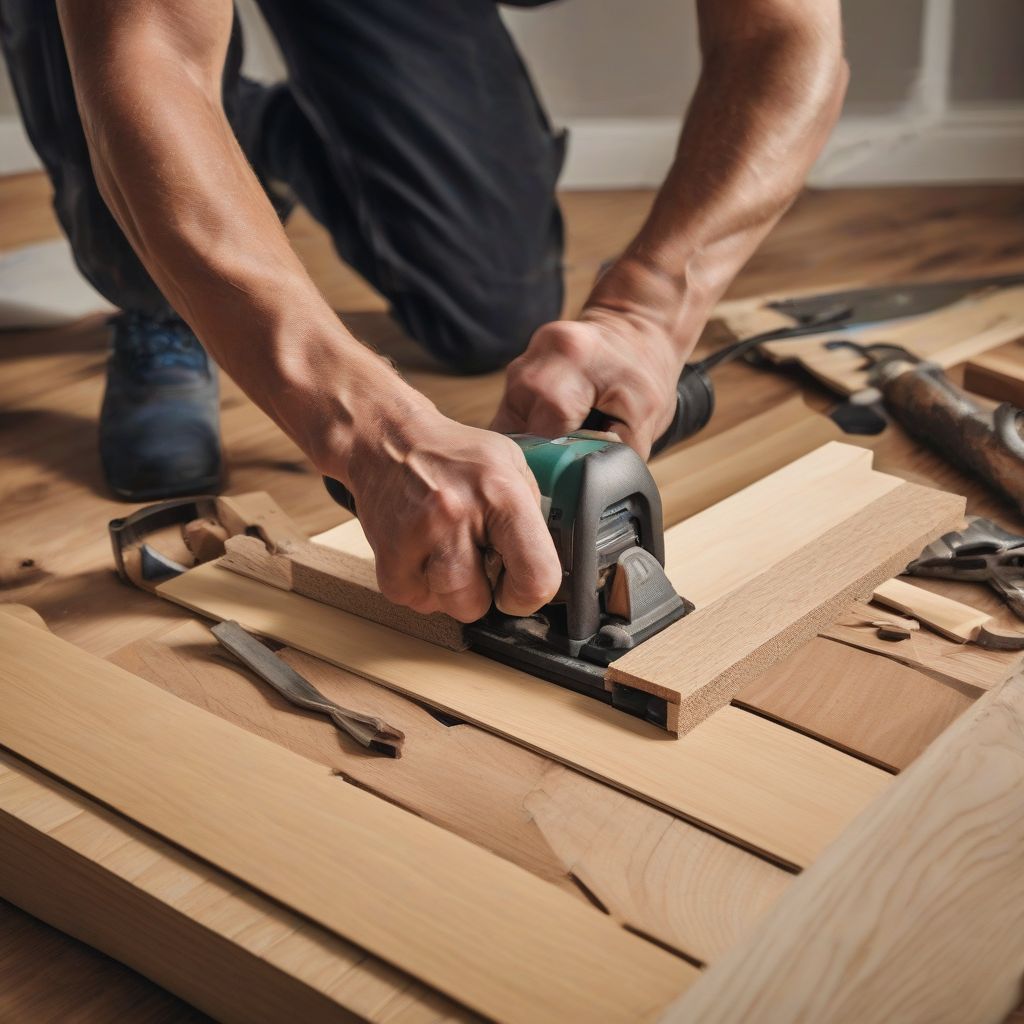 Laying Down Hardwood Floor Planks
Installing Your New Flooring
With preparation complete, it’s time to bring your vision to life!
1. Installing the First Row
Begin by laying down a moisture barrier if required for your chosen flooring type. Install the first row of flooring along your starting wall, ensuring it’s straight and using spacers to maintain consistent gaps for expansion.
2. Laying Subsequent Rows
Continue laying rows of flooring, working your way across the room. Use a tapping block and rubber mallet to secure planks or tiles tightly together.
3. Making Cuts and Adjustments
You’ll encounter areas requiring cuts around doorways, vents, or irregular wall shapes. Measure carefully and use the appropriate saw to make precise cuts for a professional-looking finish.
4. Installing Transitions and Moldings
Transition strips provide a seamless look between different flooring types or rooms. Install these according to the manufacturer’s instructions for a polished finish.
Finishing Touches and Maintenance
1. Cleaning Up
Once the installation is complete, thoroughly clean the floor to remove dust, debris, and any leftover materials.
2. Regular Maintenance
Different flooring types require specific care routines. Follow the manufacturer’s recommendations for cleaning and maintaining your new floors to keep them looking their best.
Conclusion
Installing flooring yourself can be a challenging yet incredibly rewarding DIY project. By following these steps, carefully planning, and approaching each stage with patience, you can achieve professional-looking results while saving a significant amount of money. Remember, research and preparation are key. So, gather your tools, roll up your sleeves, and embark on this exciting journey of transforming your home, one floorboard at a time!
[amazon bestseller=”flooring tools”]