Imagine this: you walk into a room bathed in the perfect hue, the walls whispering tales of your creativity. This isn’t a scene from a home makeover show; it’s the power of DIY painting! Transforming your living spaces with a fresh coat of paint is an achievable dream, and this guide will equip you with the knowledge and confidence to make it happen.
Planning Your Painting Project
Before you even crack open a paint can, meticulous planning is crucial for a successful and satisfying painting experience.
1. Choosing the Right Color Palette
The color you choose sets the mood and feel of the entire room. Consider the room’s purpose, the amount of natural light it receives, and your personal style.
- Warm Colors (reds, oranges, yellows): Create a sense of energy and intimacy, perfect for living rooms and dining areas.
- Cool Colors (blues, greens, purples): Promote relaxation and tranquility, ideal for bedrooms and bathrooms.
- Neutral Colors (whites, grays, beiges): Provide a versatile backdrop for any décor style and can make a space appear larger.
Pro Tip: Order paint samples and test them on a small section of your wall. Observe how the colors look in different lighting conditions (morning, afternoon, and evening) before committing to a full gallon.
2. Gathering Essential Painting Tools and Materials
Having the right tools on hand streamlines the painting process and ensures a flawless finish.
Essential Painting Supplies:
- Paint: Choose high-quality paint in the desired finish (matte, eggshell, satin, semi-gloss, or high-gloss).
- Paint Brushes and Rollers: Select brushes for cutting in around edges and rollers for larger areas.
- Painter’s Tape: Protects trim, moldings, and ceilings from paint bleed.
- Drop Cloths: Shield floors and furniture from paint splatters.
- Paint Tray and Liner: Provide a convenient surface for loading your roller with paint.
- Stir Stick: Ensures the paint is thoroughly mixed before and during application.
Optional but Helpful Tools:
- Paint Sprayer: Ideal for covering large surface areas quickly.
- Paint Edger: Creates clean lines between walls and ceilings.
- Extension Pole: Extends your reach for painting high walls and ceilings.
3. Preparing Your Walls for Painting
Proper surface preparation is essential for achieving a smooth, professional-looking finish.
- Clean the Walls: Use a damp cloth to remove dust, cobwebs, and any greasy residues. For stubborn stains, use a mild detergent solution and rinse thoroughly.
- Repair Imperfections: Patch holes and cracks with spackle, allowing ample drying time before sanding smooth.
- Tape Off Trim and Moldings: Apply painter’s tape carefully to create clean, straight lines.
- Protect Floors and Furniture: Cover floors with drop cloths and move furniture away from the walls.
Mastering DIY Painting Techniques
With your walls prepped and your tools ready, it’s time to unleash your inner artist.
1. Cutting In Like a Pro
“Cutting in” refers to painting the edges and corners of a wall where a roller cannot reach.
- Dip your brush: Load your brush with paint, ensuring it’s not overly saturated.
- Steady hand: Use a steady hand and a light touch to paint a straight line along the edge.
- Feather the edges: Blend the wet paint outward to avoid a noticeable line when you roll the rest of the wall.
2. Rolling on Even Coats
Rolling is the most efficient way to cover large wall surfaces.
- Load the roller: Dip your roller in the paint tray, using the ribbed section to remove excess paint.
- “W” or “M” pattern: Roll the paint onto the wall in a “W” or “M” pattern, overlapping each stroke slightly.
- Maintain a wet edge: Work in manageable sections, blending each section with the previous one while the paint is still wet to avoid lap marks.
Pro Tip: For a smoother finish, apply a second coat of paint after the first coat has dried completely (typically 2-4 hours).
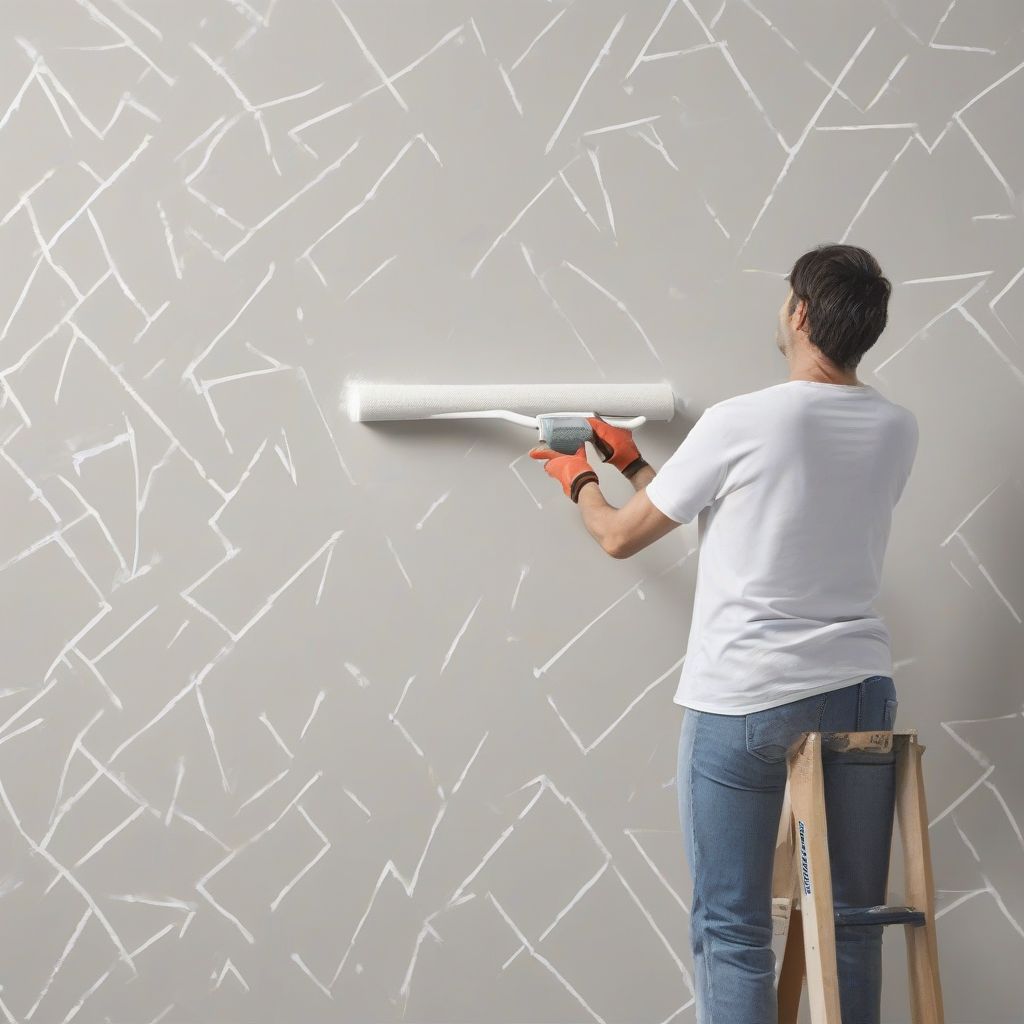
 DIY Painting Technique
3. Achieving a Flawless Finish
These additional tips will elevate your painting project from good to great.
- Backrolling: After rolling on a section of paint, lightly roll back over it in a straight line to even out the coverage and eliminate air bubbles.
- Working quickly: Paint dries relatively fast, so work quickly and efficiently, especially in warm and dry conditions.
- Cleaning up: Wash your brushes and rollers thoroughly with soap and water immediately after use to prevent the paint from drying and ruining them.
Elevating Your Space with Creative Painting Techniques
Beyond a standard solid color, explore these creative painting techniques to add depth, texture, and visual interest to your walls.
1. Color Washing: Creating Subtle Depth
Color washing creates a soft, watercolor-like effect on your walls.
- Apply a base coat of paint in a light, neutral color.
- Mix a glaze in a contrasting or complementary color (glaze is translucent paint).
- Use a rag or sponge to apply the glaze over the base coat in a random, circular motion.
- Experiment with different glaze application techniques to achieve the desired effect.
2. Sponging: Adding Texture and Dimension
Sponging adds a subtle texture and visual interest to your walls.
- Apply a base coat of paint.
- Dip a natural sponge into a contrasting or complementary color, dabbing off excess paint.
- Lightly dab the sponge onto the wall in a random pattern.
- Vary the pressure and sponge placement for a more dynamic effect.
3. Stenciling: Adding Personalized Patterns
Stenciling allows you to create custom patterns and designs on your walls.
- Choose a stencil design that complements your décor style.
- Secure the stencil to the wall with painter’s tape.
- Use a stencil brush or foam roller to apply paint over the stencil openings.
- Carefully remove the stencil, reposition it, and repeat the process until you achieve the desired pattern.
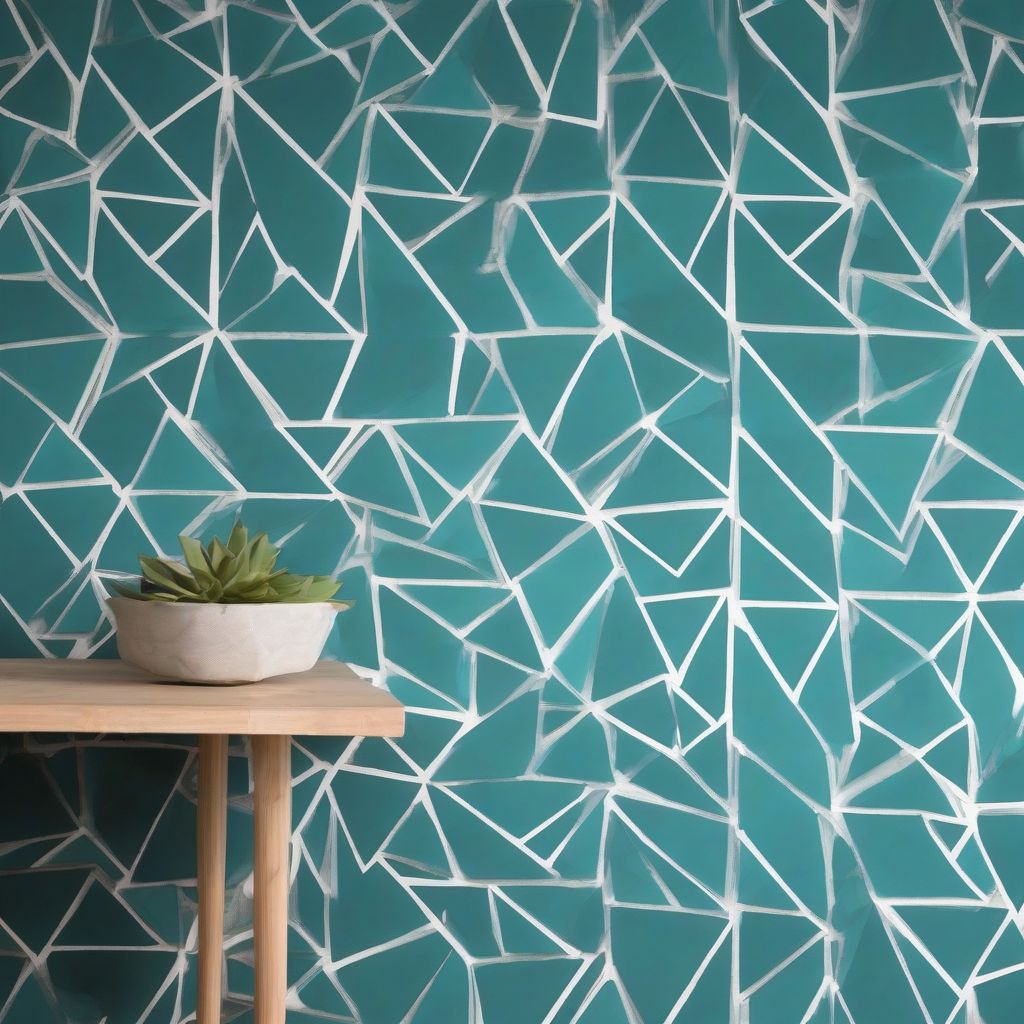
 Accent Wall with Geometric Pattern
[amazon bestseller=”paint-sprayer”]
Conclusion
Transforming your living spaces with DIY painting is an empowering and rewarding experience. By following these techniques and embracing your creativity, you can achieve professional-looking results and create a home that reflects your unique style and personality. Remember to enjoy the process, celebrate your creativity, and don’t be afraid to experiment! Now, grab your paintbrush and unleash your inner artist. Your dream space awaits!
Do you have any questions about DIY painting? Share your thoughts and painting adventures in the comments below!
