
We’ve all been there: that sinking feeling when something breaks around the house. But before you call a handyman for every little issue, consider this: mastering a few basic DIY home repairs can save you time, money, and even a bit of stress.
As a nutrition and meal prep coach, I know the value of being prepared. Just like having healthy meals ready to go can set you up for success, having a few DIY skills under your belt can empower you to tackle those unexpected household hiccups.
Think of it this way: you don’t need to be a master chef to whip up a delicious and nutritious meal, and you don’t need to be a licensed contractor to handle common home repairs.
Must-Know DIY Home Repairs to Add to Your Repertoire
This guide will walk you through some essential DIY home repairs that everyone should know. From patching a hole in the wall to fixing a leaky faucet, we’ll break down each task into easy-to-follow steps.
1. Unclogging a Drain
Let’s face it; a clogged drain is never a pleasant experience. Before you reach for the chemical drain cleaners, try these simple methods:
- Boiling Water: Pouring boiling water down the drain can help dissolve grease and soap scum.
- Baking Soda and Vinegar: This classic combination creates a fizzing action that can help dislodge clogs. Pour 1 cup of baking soda down the drain, followed by 1 cup of vinegar. Let it sit for 30 minutes, then flush with hot water.
- The Trusty Plunger: Ensure there’s a good seal around the drain opening and plunge vigorously for several minutes.
2. Patching a Hole in the Wall
Accidents happen, and sometimes walls bear the brunt of it. But don’t panic; patching a small hole is easier than you might think.
- Clean the Area: Use a putty knife to remove any loose debris or plaster.
- Apply Patching Compound: Apply a small amount of patching compound to the hole, using the putty knife to smooth it out evenly.
- Let it Dry: Allow the compound to dry completely.
- Sand and Paint: Once dry, sand the area smooth and touch it up with matching paint.
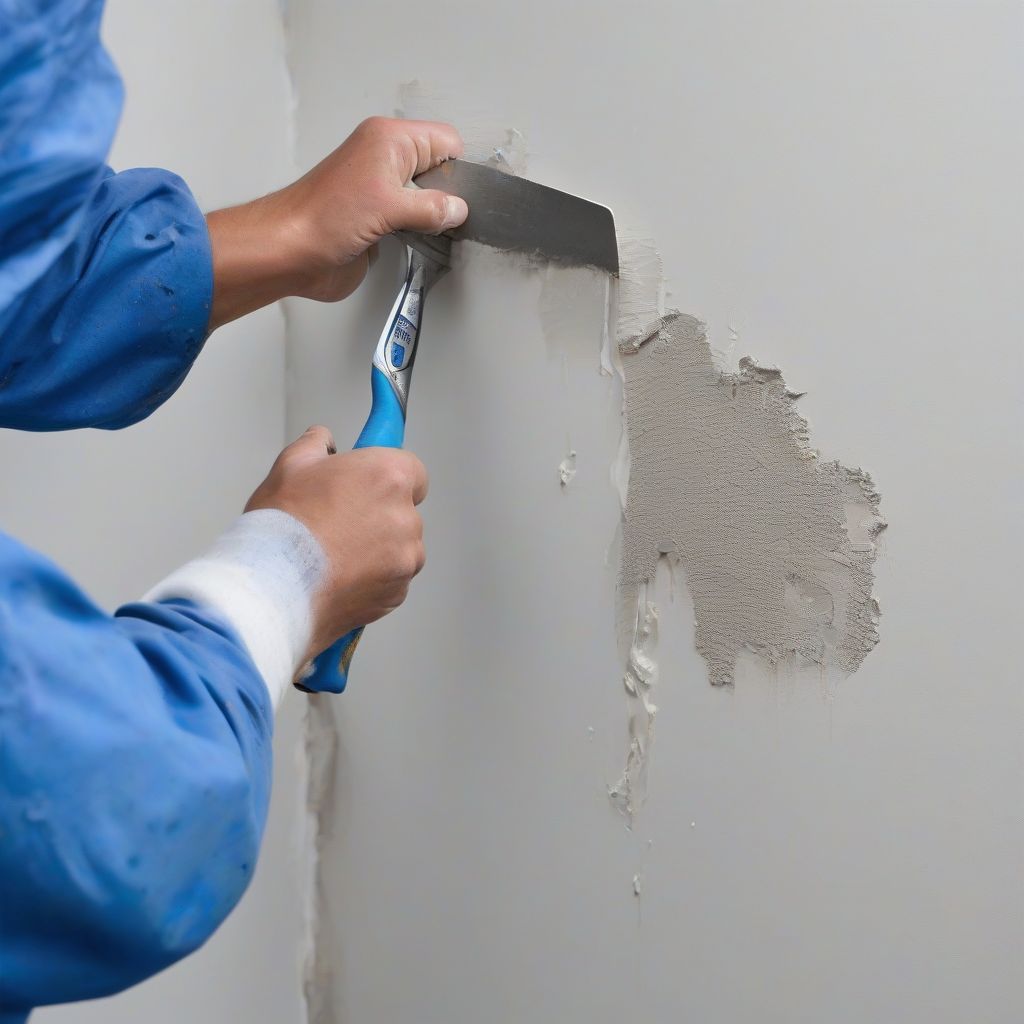 Patching a wall
3. Tightening a Loose Door Handle
A loose door handle is not only annoying but also a potential safety hazard. Luckily, tightening it is usually a quick fix.
- Identify the Screws: Most door handles have screws on the inside plate that secure it to the door.
- Tighten the Screws: Using a screwdriver, carefully tighten the screws until the handle is secure. Avoid over-tightening, as this can strip the screws or damage the door.
4. Fixing a Leaky Faucet
A dripping faucet can waste water and drive you crazy with the constant sound. Often, the culprit is a worn-out washer. Here’s how to replace it:
- Turn Off the Water Supply: Locate the shut-off valve under the sink and turn it off.
- Remove the Handle: You’ll need to remove the decorative cap on top of the handle to access the screw. Unscrew the handle and lift it off.
- Replace the Washer: Once the handle is removed, you’ll see the valve stem. Use a wrench to unscrew the packing nut, then remove the old washer and replace it with a new one of the same size.
- Reassemble the Faucet: Reverse the steps to reassemble the faucet and test for leaks.
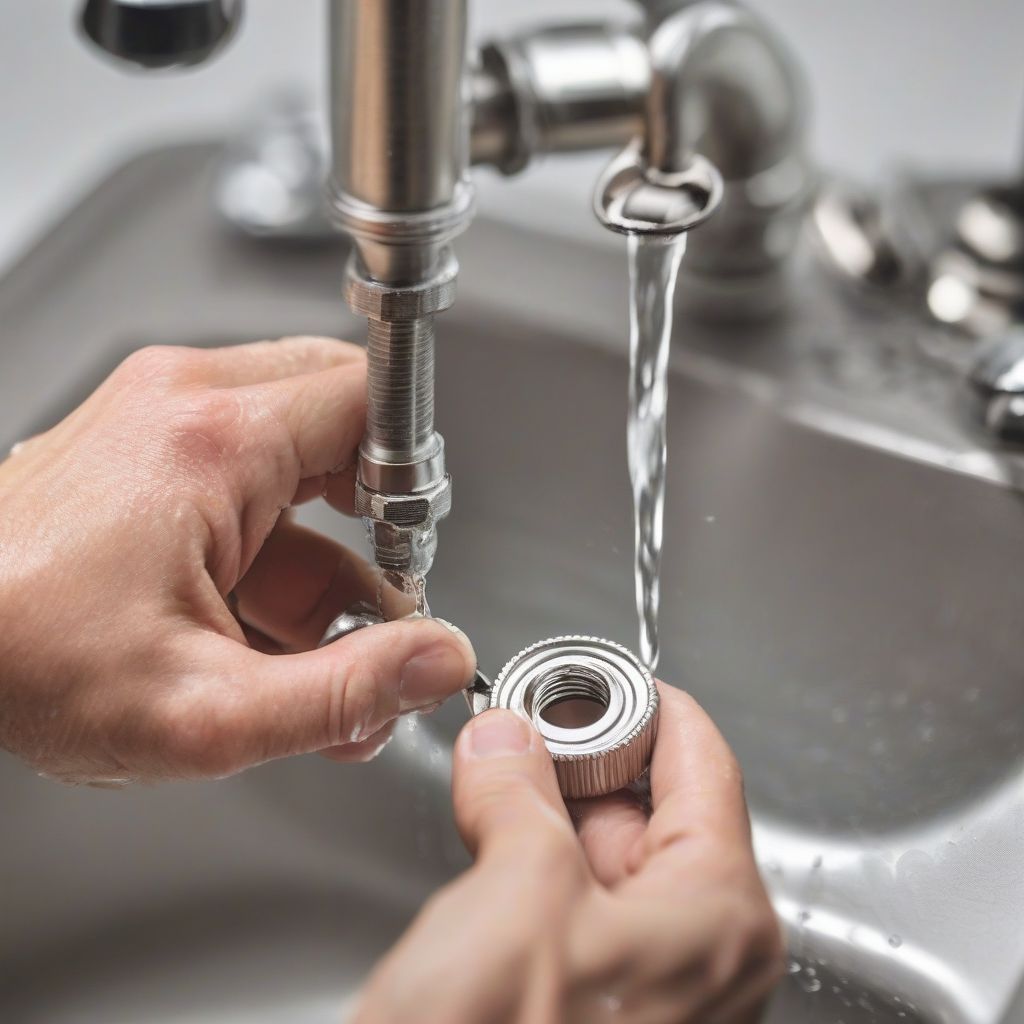 Fixing a leaky faucet
[amazon bestseller=”faucet repair kit”]
5. Replacing a Light Switch or Outlet
Electrical work might seem intimidating, but replacing a light switch or outlet is a surprisingly manageable DIY task.
- Safety First: Always turn off the power to the circuit at the breaker box before working on any electrical components.
- Remove the Faceplate: Unscrew the faceplate to expose the switch or outlet.
- Disconnect the Wires: Carefully unscrew the wires from the old switch or outlet. Take a photo of the wiring configuration beforehand if you need a reminder for reconnecting.
- Connect the New Device: Connect the wires to the new switch or outlet, matching the colors (white to white, black to black, and ground to green).
- Secure the Device and Replace the Faceplate: Gently push the new switch or outlet into the electrical box and secure it with screws. Reattach the faceplate.
Conclusion: Empower Yourself with Basic DIY Skills
Mastering these basic DIY home repairs can give you a sense of accomplishment and save you from the hassle of calling a professional for minor issues. Remember, safety is paramount when tackling any home repair project.
If you’re ever unsure about a repair or encounter something beyond your comfort level, don’t hesitate to contact a qualified professional.
Do you have any other must-know DIY home repairs you’d like to share? Leave a comment below and let’s keep the conversation going!